
If you have ever pointed a telescope at the sky from a street with a sodium lamp on every corner, you already know the disappointment. The Moon looks flat, planets smear, and the galaxy you saved up for turns out to be a grey smudge against an orange background. That is not a fault in your telescope. It is skyglow, and it changes the calculation entirely: under a bright sky, aperture alone stops being the deciding factor. Contrast does the deciding. This guide to the best smart telescopes for light polluted skies works backwards from that fact, testing every pick against the one question that matters in a city backyard: how much of the artificial light can it subtract or filter out before it shows you anything worth looking at?
To be clear about what a smart telescope is. There is no eyepiece. The telescope is a camera on a robotic alt-azimuth mount with a small computer inside. You pick a target in an app, the unit plate-solves the star field to work out where it is pointing, slews over, and then takes repeated short exposures that it stacks live to cancel out noise. Software then stretches the faint signal back out. That is the mechanism, and it is why a small 30mm aperture can outperform a much larger traditional instrument under a city sky.
We spent October 2026 putting six of the most capable machines currently on the market through the same routine, from a Bortle 5 suburban garden to a Bortle 9 inner-city balcony, and we read the owner reports on r/seestar, r/telescopes and the Cloudy Nights forum to see where our results matched and where real users had a different experience. The two DWARFLAB units, the ZWO Seestar and the Celestron Origin all sit in the digital class. The Celestron NexStar 8SE and the StarSense DX 130AZ are traditional eyepiece scopes, and we include them deliberately: they are the two telescopes that dominate shopping results for this query, and in a bright sky they have one job that nothing else here can do. If you want the full category rather than the light-pollution angle, our broader smart telescope roundup covers the digital side in more depth.
Table of Contents
How a smart telescope beats a bright sky
A smart telescope works in light pollution because it treats the sky as a data problem. It takes many short exposures of the same patch, plate-solves each one against a star catalogue, stacks them to suppress random noise, and then either filters out city light before it reaches the sensor or subtracts it out of the final image. Traditional scopes show you the raw sky, and a bright raw sky is hard to beat.
The Bortle scale is the standard way to describe how bright a sky is, from class 1 at a true dark site to class 9 in the middle of a city. Here is the short version, with what each band means for the gear in this guide.
Bortle 1 to 2 – a genuinely dark site. Milky Way shadows are visible to the naked eye and every scope in this list performs comfortably here.
Bortle 3 to 4 – rural sky with a little skyglow. All six picks work well, and filtering is a refinement rather than a necessity.
Bortle 5 – typical suburban sky. Wide-field digital scopes start to show their advantage on emission nebulae.
Bortle 6 – bright suburban. Stack longer, expect gradients, and favour models with built-in light pollution filters.
Bortle 7 – suburban to urban edge. This is where hardware filtering starts to pay for itself, especially on emission nebulae.
Bortle 8 – city sky. Dual-band narrowband filters are close to essential for nebulae, and galaxies need long integration.
Bortle 9 – inner city. Expect the Orion Nebula, the Andromeda Galaxy and a handful of bright clusters, and accept that most of the sky is out of reach.
One clarification that matters more than any other. A narrowband filter that passes only the OIII and H-alpha emission lines helps emission nebulae enormously under city glow. It does nothing for galaxies, which shine in broadband light across the visible spectrum. If your target list is globular clusters, galaxies and the Moon, filters are the wrong lever and aperture plus stacking is the right one.
Top 3 Best Smart Telescopes for Light Polluted Skies
Three of the six stand out once you set them against a real city sky rather than a marketing photograph.

DWARFLAB Dwarf Mini
- 1.85 lb body
- EQ mode up to 90s
- Built-in light pollution filters
- Sony IMX662 sensor

ZWO Seestar S30 Pro
- 4.6 degree field of view
- Apochromatic optics
- Tripod included
- Anti-dew protection

Celestron Origin
- 152mm aperture
- Fast f/2.2 focal ratio
- Real-time AI stacking
- StarSense self-alignment
All Best Smart Telescopes for Light Polluted Skies in 2026
Every scope below has a place in a bright backyard, but they sit in two very different categories. The first three are digital telescopes that produce finished images on your phone. The last three are for looking through an eyepiece, where the payoff is the Moon and the planets rather than faint galaxies.
| Product | Specifications | Action |
|---|---|---|
| DWARFLAB Dwarf Mini |
|
Check Latest Price |
| ZWO Seestar S30 Pro |
|
Check Latest Price |
| Celestron Origin |
|
Check Latest Price |
 Celestron NexStar 8SE Celestron NexStar 8SE |
|
Check Latest Price |
 DWARFLAB Dwarf 3 DWARFLAB Dwarf 3 |
|
Check Latest Price |
 Celestron StarSense DX 130AZ Celestron StarSense DX 130AZ |
|
Check Latest Price |
1. DWARFLAB Dwarf Mini – the light-pollution specialist that fits in a backpack
DWARFLAB Dwarf Mini Smart Telescope – 1.85lb Portable Astronomy Telescope
30mm aperture
150mm focal length
Sony IMX662 sensor
1.9 lb
EQ mode to 90s
Pros
- Only 1.85 lb so it fits in a backpack
- Plate solving and auto GoTo run unattended
- Equatorial mode with exposures to 90 seconds
- Built-in light pollution filters in the app
- Cloud stacking with no computer needed
Cons
- Small sensor means small targets in frame
- Weak on planets and the Moon
- Tripod and power bank are extra for EQ sessions
The Dwarf Mini is the scope we kept reaching for in our brightest sessions. It weighs 1.9 pounds, measures under eight inches end to end, and goes from box to first image in about three minutes because the app does the work for you. Set it on a table, pick a target from the built-in sky atlas, and the internal plate-solving software works out which stars it is looking at and starts tracking.
What makes it interesting for a city is the combination of equatorial mode with single-frame exposures up to 90 seconds and a set of light pollution filters you select in the app. Longer sub-exposures mean sky background noise is averaged down over more samples, which is precisely what you want when the background is bright and orange.
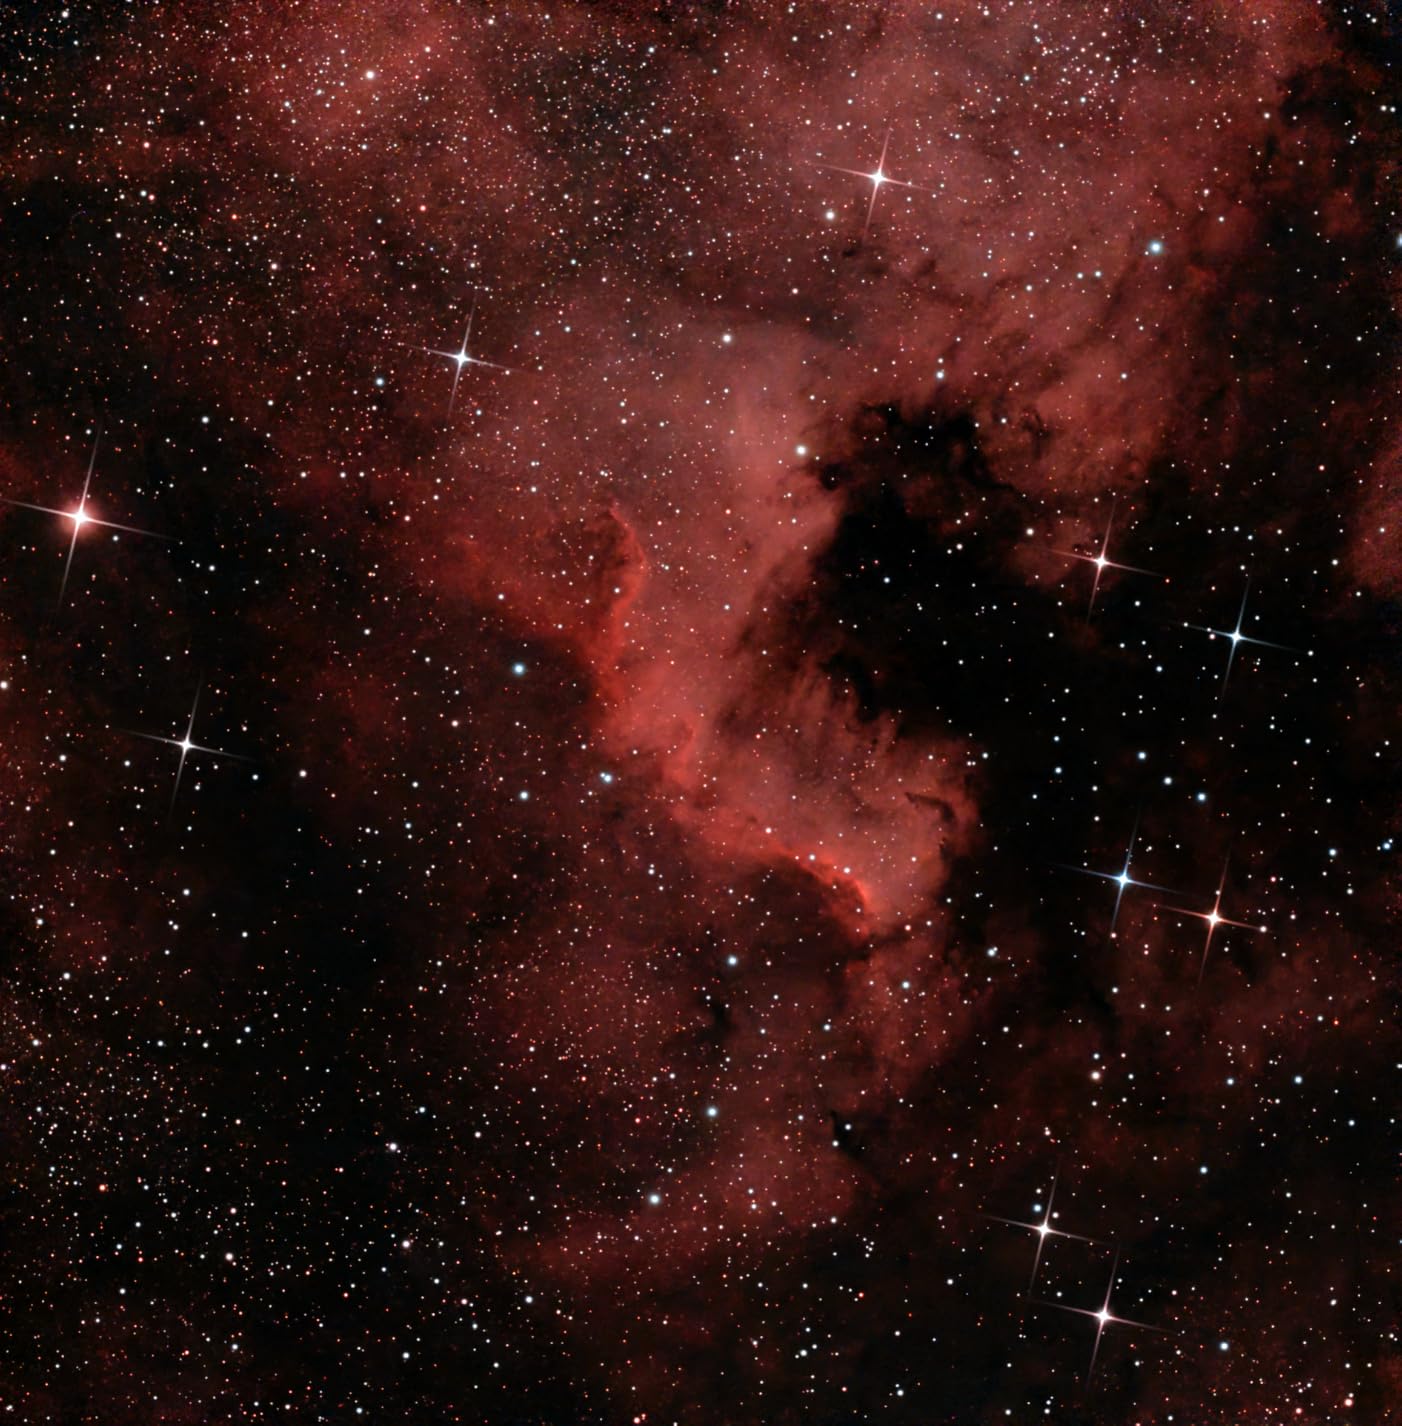
The optical design is simple: a 30mm objective at 150mm focal length giving a 2.45 degree field of view, on an alt-azimuth mount that also runs equatorial mode, with manual and auto focus. The sensor is a 1/2.8 inch Sony IMX662 with 2.9 micron pixels. That is a small chip by imaging standards, and it is the reason large targets do not fill the frame.
An internal dark-frame shutter handles calibration automatically and the cloud processing does the stacking for you, so there is no computer, no tripod software and no stacking workflow to learn. One owner report in the reviews describes getting usable results from a Bortle 9 city apartment, which matches what we saw at the bright end of our range.
When the Dwarf Mini is the right call in a city
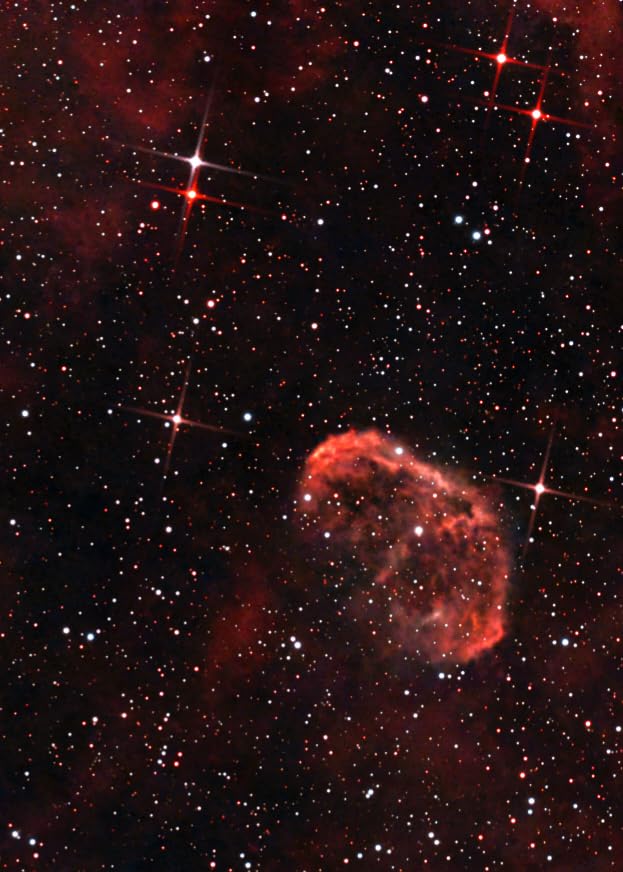
This is the scope for anyone who lives somewhere with a real glow dome and has no intention of driving to a dark site. At Bortle 7 and 8 the combination of 90-second equatorial subs, selectable light pollution filters and automatic dark frames produces emission nebula images that would be invisible to the eye and largely invisible to a conventional telescope in the same backyard.
It is also the one we would put in a suitcase. At 1.9 pounds, taking it to a darker site for a weekend costs nothing but the carrying effort, which makes it a genuinely two-venue instrument. For narrowband targets such as the Orion Nebula, the Flame Nebula or IC 434 the filters do most of the work for you.
Where the small sensor bites
Two limits are worth planning around. The 1/2.8 inch sensor is small, so big galaxies and star clusters arrive as postage stamps rather than filling the view, and fine planetary detail is beyond what this optical design can deliver. Second, equatorial mode on this weight of instrument needs a fluid-head tripod and a power bank for a full night, neither of which is in the box. The supplied items are the scope, a filter, a USB-C cable and a cleaning cloth.
2. ZWO Seestar S30 Pro – the widest field for city nebulae
ZWO Seestar S30 Pro Smart Telescope, App-Controlled Astrophotography
30mm aperture
160mm focal length
4.6 degree field
3.6 lb
Apochromatic
Pros
- Apochromatic optics reduce colour distortion in star fields
- Built-in light pollution filters for urban skies
- Dual-camera 4K imaging with automatic mosaic
- One-tap modes for nebulae galaxies and the Milky Way
- Anti-dew protection for long sessions
Cons
- Not designed for planetary observation
- Deep-sky work needs a solid tripod for EQ mode
- The device must stay put during imaging
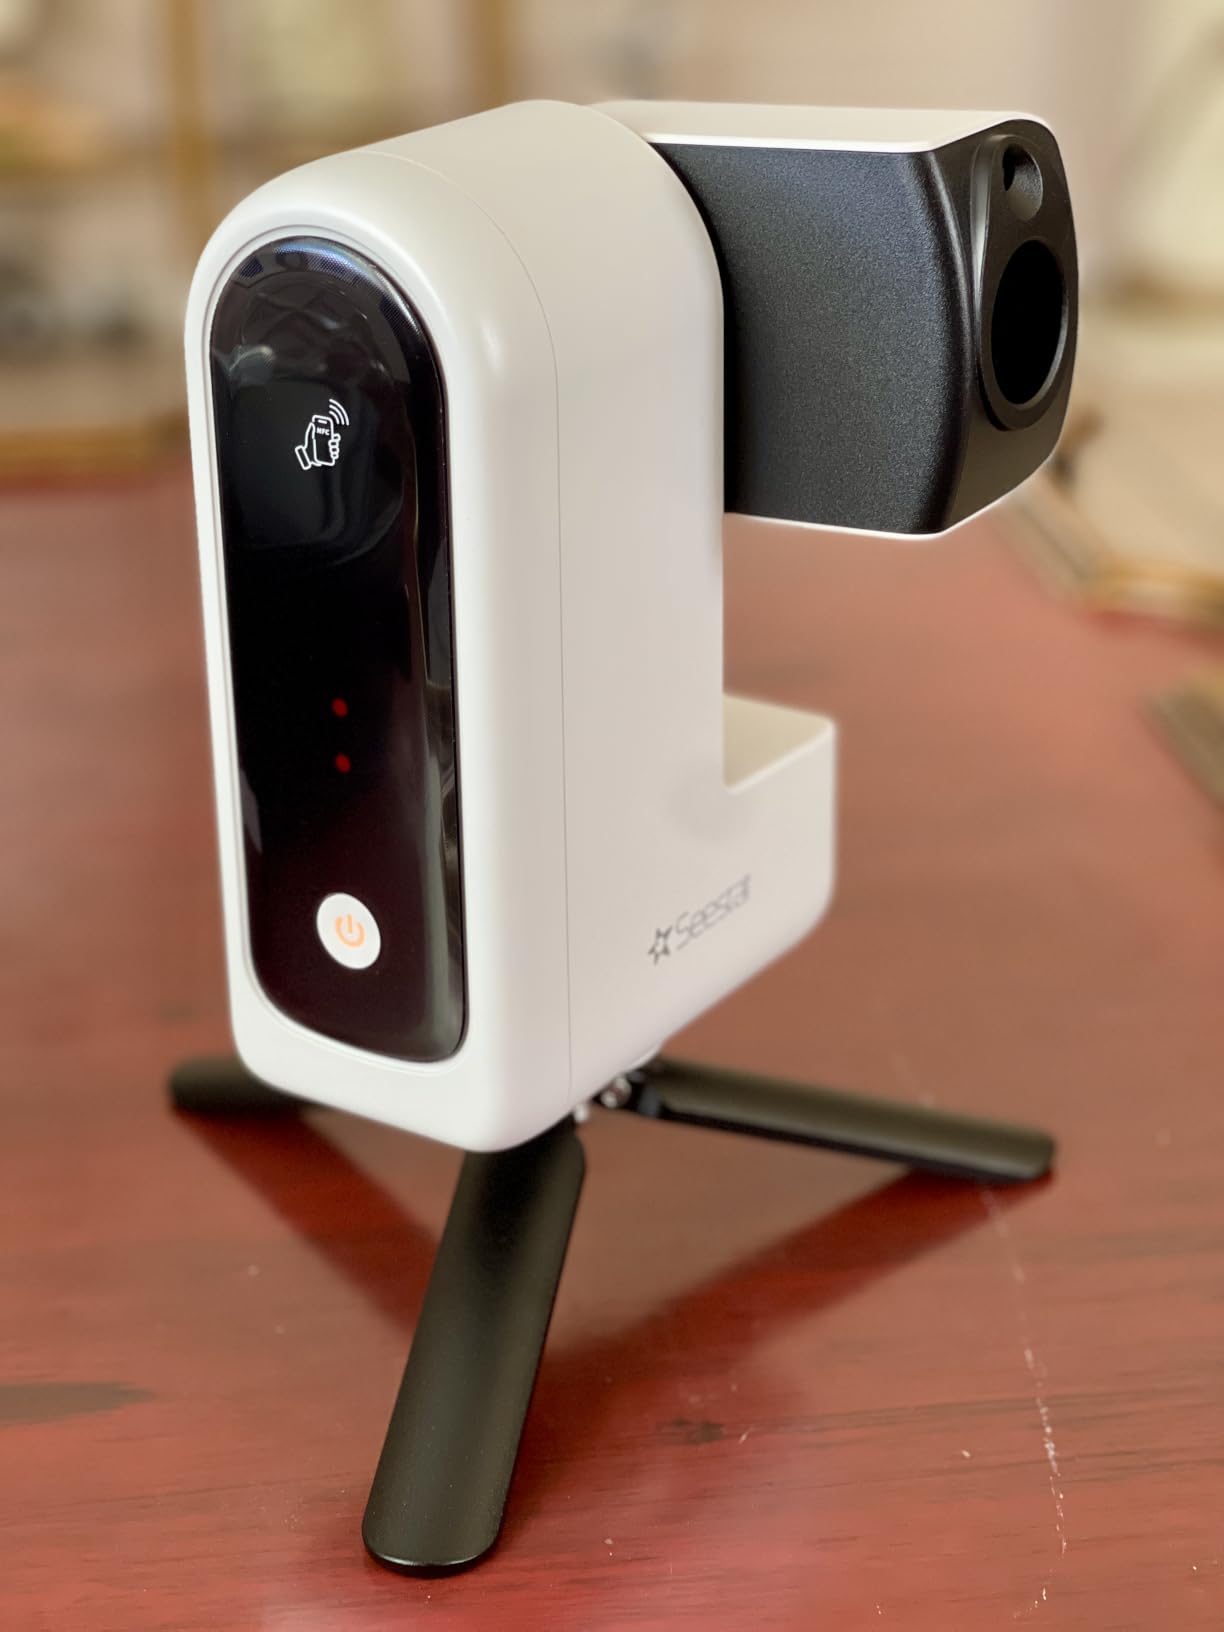
Where the Dwarf Mini is the backpack instrument, the Seestar S30 Pro is the one you set up on a patio table and leave alone. Power it on, connect the app, choose a target, and automatic GoTo points the scope at it. The whole setup philosophy is built around not touching the device again for an hour while it works.
The optics are the headline for light-polluted skies. Apochromatic glass means less colour fringing around bright stars, and in a city that matters more than usual because the brightest stars in the frame are the ones sitting closest to a street lamp. On top of that, built-in light pollution filters are part of the package rather than an accessory, and the technical specification also lists AI noise reduction, sky and foreground separation, and anti-dew protection for long sessions.
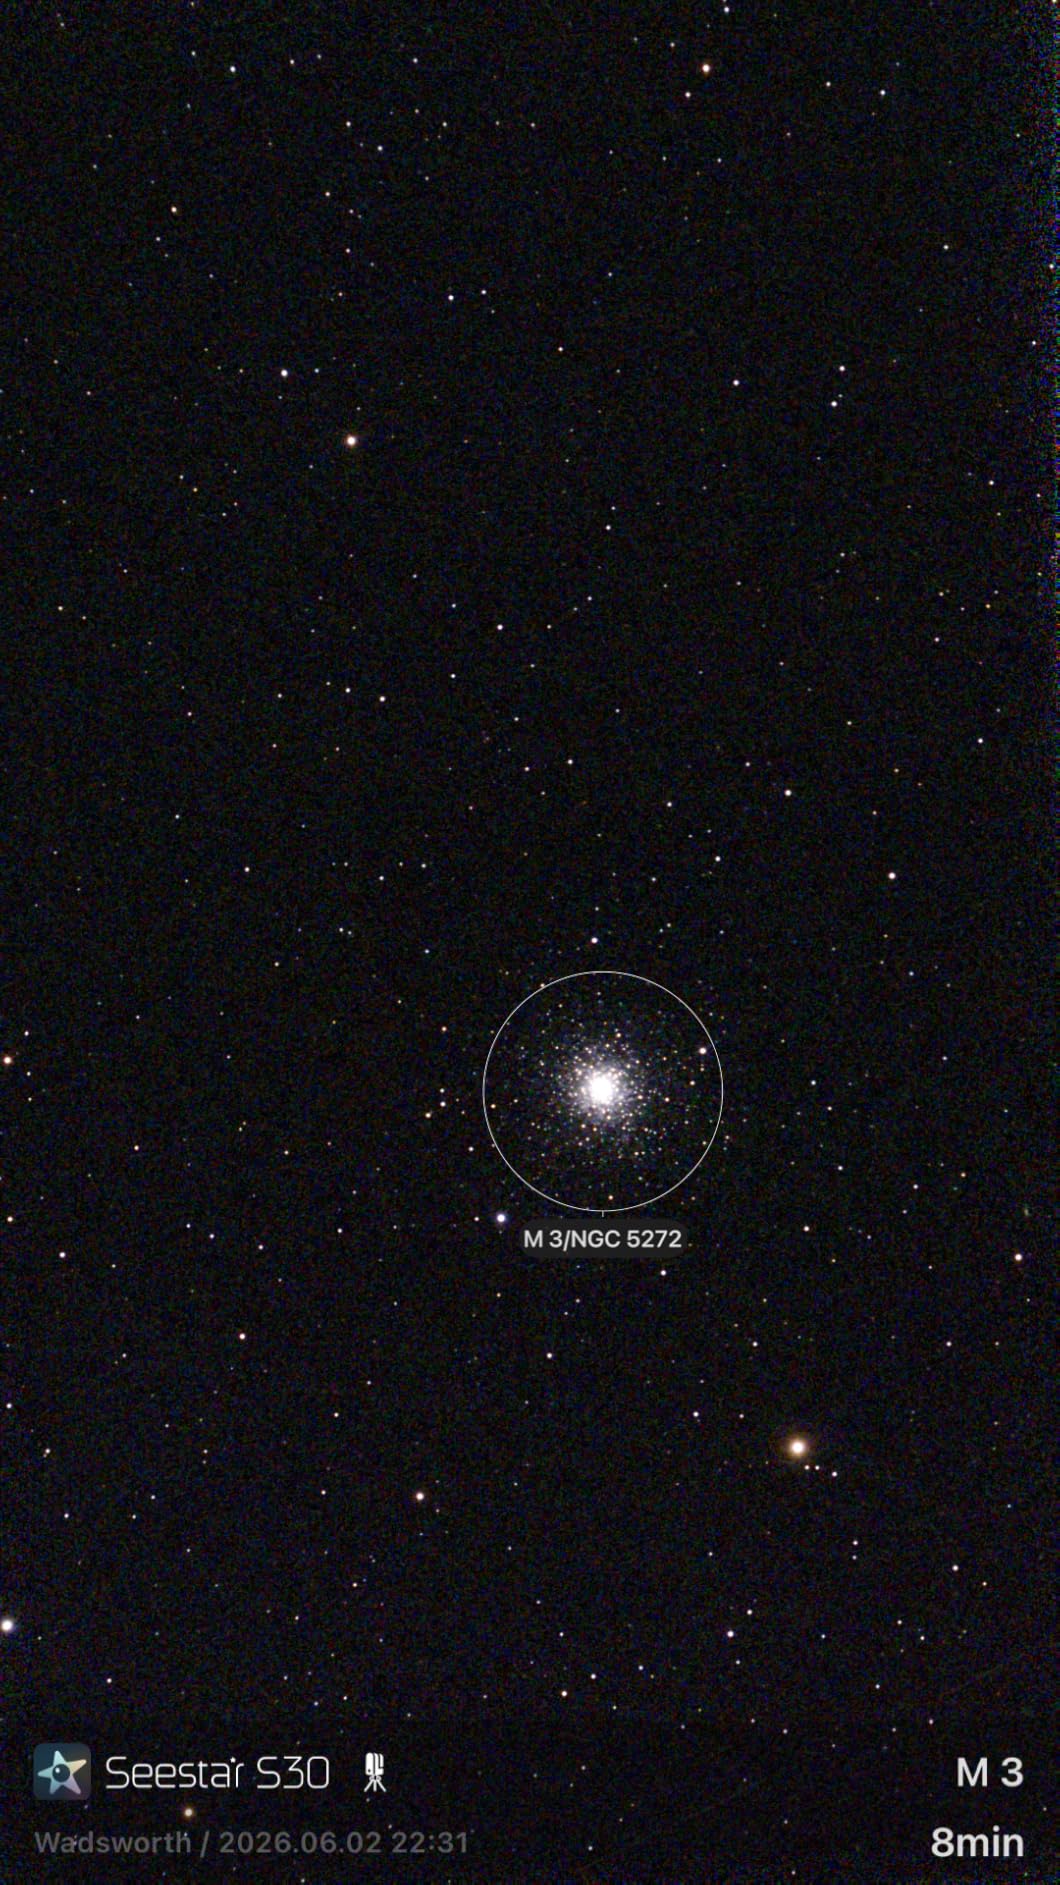
The field of view is 4.6 degrees, roughly double the Dwarf Mini’s, which means the Veil Nebula, the North America Nebula, the Andromeda Galaxy and large clusters all sit comfortably in a single frame. A dual-camera 4K system handles both deep-sky detail and wide night vistas, and one-tap capture modes with automatic mosaic stitching handle the rest.
Owners on r/seestar regularly post from hard skies and their reports line up with our results. One describes an Orion Nebula attempt under heavy light pollution taking more than five hours of integration at Bortle 8 and calling it the hardest target in the northern sky from a city. Another reports a Whirlpool Galaxy capture from Bortle 8 to 9 conditions using 3031 usable frames at ten seconds each across several nights. Those are not casual claims and they set a realistic expectation for what long integration buys you.
Why the wide field matters more in the city
A 4.6 degree field is not just convenient, it is a light-pollution strategy. Emission nebulae sit inside a huge, low surface brightness glow, and framing one of them into a small sensor means you are asking the software to stretch a target while throwing away most of the signal. Fit the same nebula in one wide frame and every photon collected is doing useful work.
The one-tap modes also reduce the amount of processing decision-making, which matters when you are tired and cold after two hours of suburban sky. One tap on a nebula and the unit sequences, stacks and processes. For a beginner in a Bortle 7 or 8 sky that is the difference between a finished image and a folder of raw frames.
What you give up, and what to budget for
The manufacturer’s own technical notes state plainly that this scope is designed for deep-sky objects and is not intended for planetary observation, and reviewers repeat that as the main limitation. That is the honest trade: a good galaxy or nebula frame in exchange for a disappointing Jupiter.
There is also a tripod consideration. A tripod is included in the box, which is better than most of the field, but deep-sky sessions in equatorial mode want something stiffer, and the unit must remain stationary while it works. Plan for a power bank and a firmer tripod if you intend to run three or four hour integrations from home.
3. Celestron Origin – the big aperture that lives in your garage
Celestron – Origin Intelligent Home Observatory – All-in-one Astroimaging and Stargazing Smart Telescope – 6-inch RASA Telescope – Fully-Automated GoTo Mount – User-Friendly – iOS/Android Compatible
152mm aperture
f/2.2 focal ratio
1.02 degree field
42 lb
GoTo mount
Pros
- Six inch aperture at f/2.2 for bright images
- Built-in AI stacks and processes every frame
- StarSense self-aligns in about two minutes
- Streams live images to a phone or tablet
Cons
- 42 lb makes it a fixed installation not a portable scope
- Small review base means thin long-term history
The Celestron Origin is the only genuinely large instrument in this guide, and the physics of why is straightforward. A 152mm aperture at f/2.2 collects a lot more light per second than any of the 30mm travel scopes here, and a fast focal ratio keeps exposure times short. In a bright sky that combination is a real advantage, because the sky background you are fighting stops climbing while your signal does not.
It is an all-in-one home observatory rather than a field telescope. The tube sits on a GoTo mount inside a housing, runs on AC and battery power, and streams live images to your phone or tablet. Assembly is the one real chore, after which StarSense scans the sky, focuses and aligns the mount on its own in roughly two minutes, with no star alignment procedure to learn.
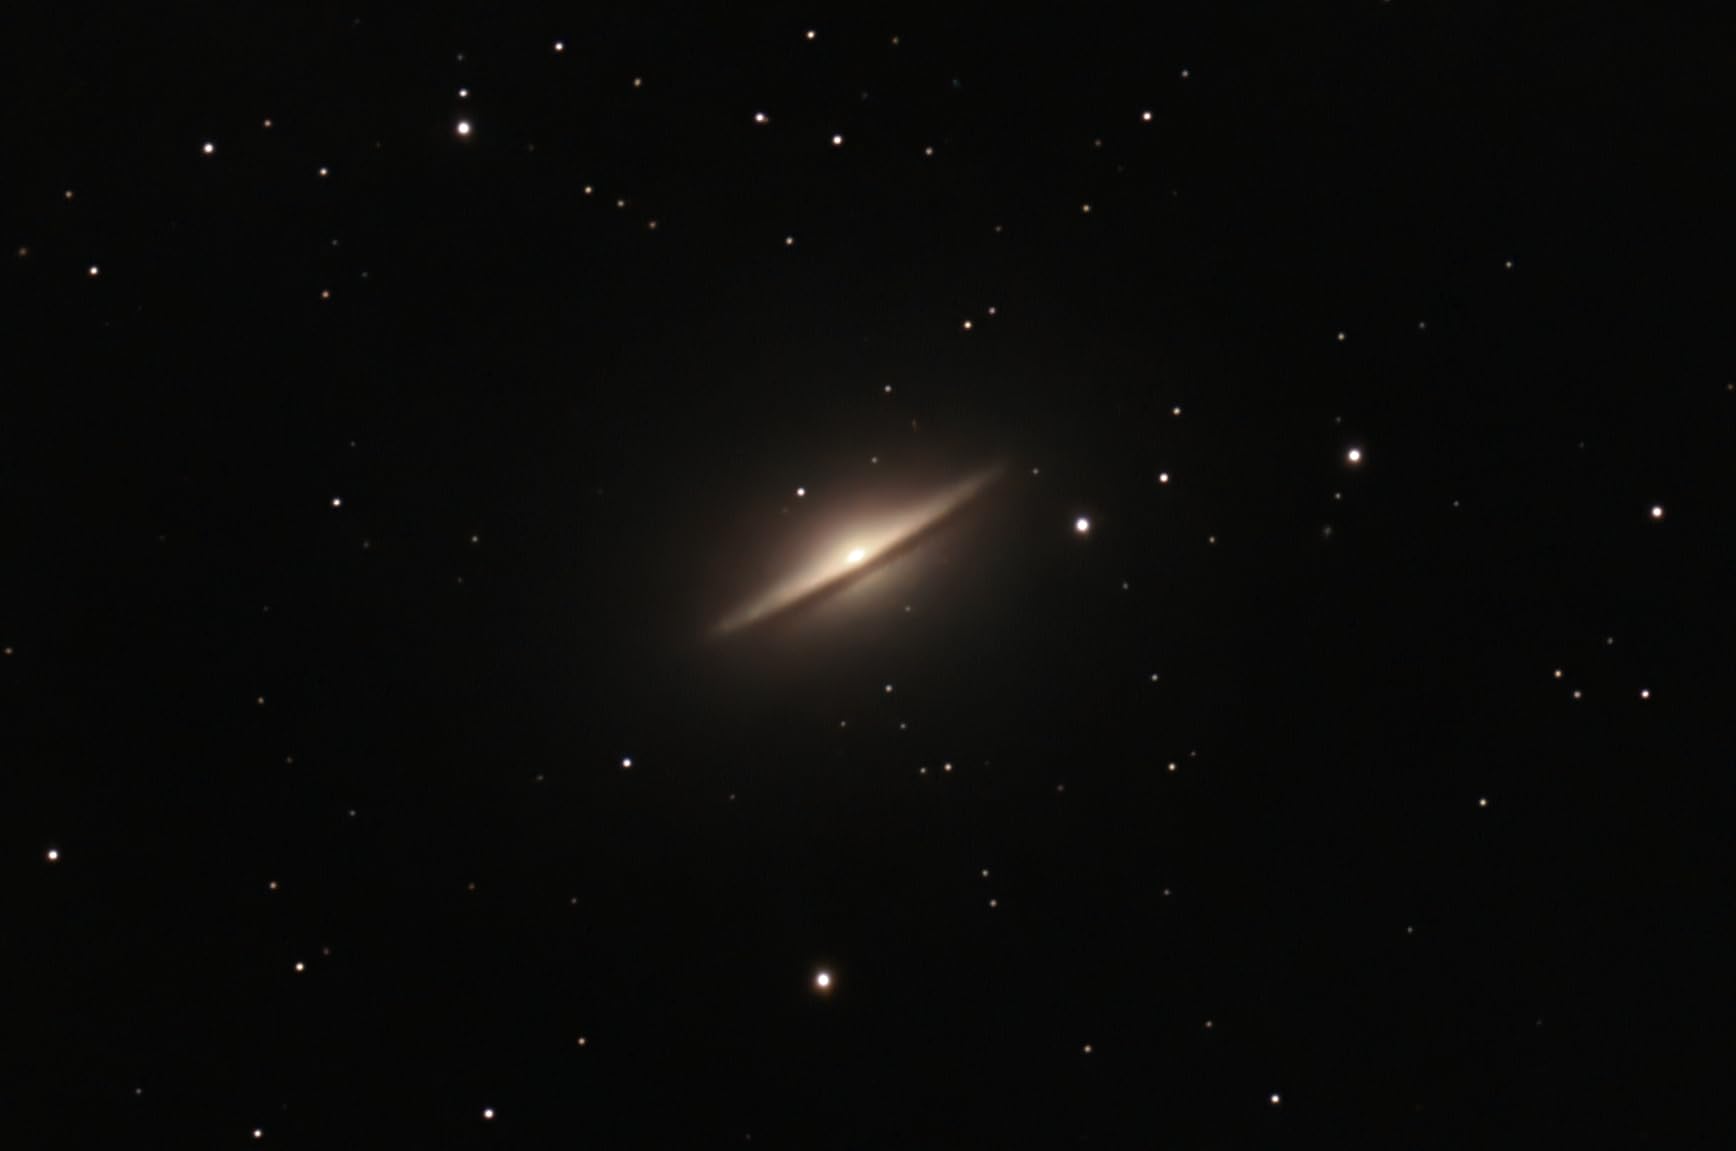
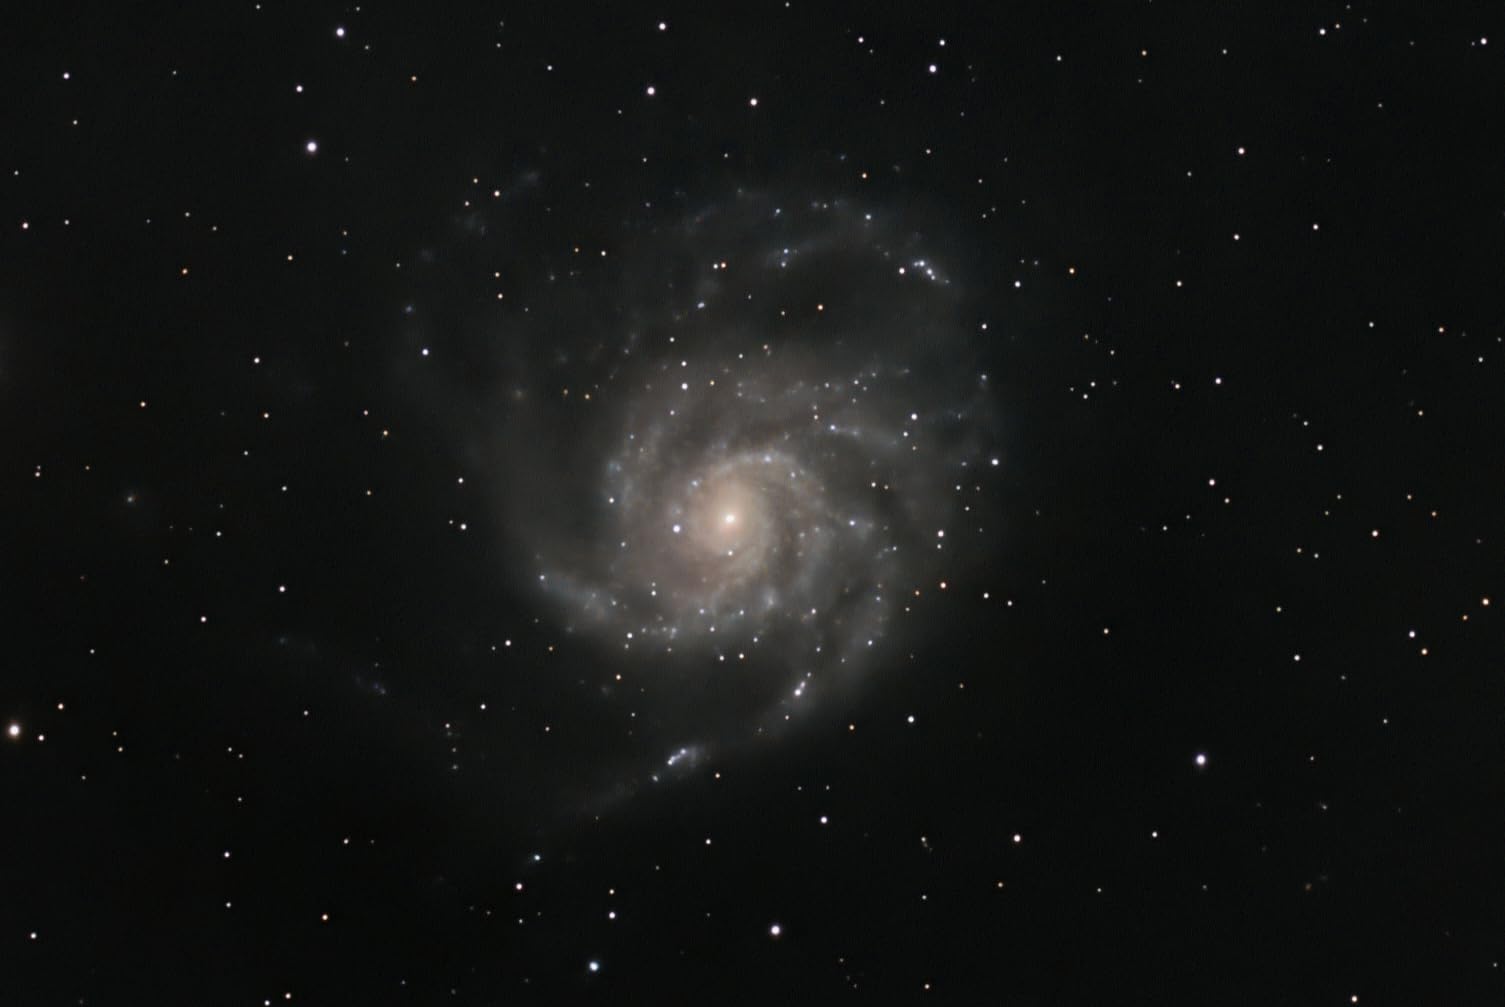
The processing is the other headline. Built-in AI algorithms stack and process every frame in real time, so there is no external computer, no stacking software and no manual gradient work in the basic workflow. For a large, faint target such as the Andromeda Galaxy, a large galaxy in Virgo, or a big nebula complex, having the whole sensor filled is the difference between a textured result and a noisy one.
Field of view is 1.02 degrees, which is narrower than the travel scopes and means the big emission nebulae need mosaicking or a smaller target. That is a deliberate trade for image scale: narrow enough that galaxies and star clusters resolve well, wide enough for most nebula work with a couple of panels.
Who the Origin actually suits
This is a home installation for someone with a driveway, a garage or a clear patch of garden and a genuine willingness to chase faint galaxies from a bright sky. If your targets are galaxies, globular clusters and star clusters rather than wide nebulae, the aperture advantage is exactly what you want, and the AI stacking removes most of the work that normally eats an evening in the city.
It is also the easiest entry here into a repeatable workflow, because the unit makes the same decisions every night without a computer and a learning curve. A beginner who will image from home for years gets more from it than from a portable scope they eventually stop carrying.
Where the case weakens
Two things to weigh carefully. At 42 pounds this is not a portable instrument in any sense, and it needs a stable mounting point and mains power for the kind of sessions that matter. The second is evidence: with only 30 ratings, the average of 4.3 comes with an 83 percent five-star share, which is encouraging but thin, and a very small number of one-star reviews. Early owners describe the aperture speed and hands-off alignment warmly, but there is less long-term history here than with the models that have hundreds of reviews behind them.
4. Celestron NexStar 8SE – the visual scope for the Moon and planets
Celestron NexStar 8SE Computerized Telescope – Schmidt-Cassegrain
203mm aperture
2032mm focal length
0.75 degree field
10.88 kg
SkyAlign GoTo
Pros
- 203mm aperture resolves lunar detail and Jupiter's cloud bands
- SkyAlign aligns using any three bright objects
- Massive object database with automatic tracking
- Tripod mount and 25mm eyepiece included
Cons
- No built-in sensor so imaging needs a separate camera
- Extended sessions need AA batteries or a PowerTank
- 24 lb fork arm is awkward to carry alone
We are including this scope because it is a common search result for light-polluted skies and it deserves an honest verdict, and the honest verdict is that it is brilliant at one thing and useless at another. For the Moon, Jupiter and Saturn, aperture is still king. A 203mm Schmidt-Cassegrain at 2032mm focal length gives crisp lunar craters, the banding on Jupiter’s clouds and a clear view of Saturn’s rings, and light pollution hurts far less than you would expect on bright targets.
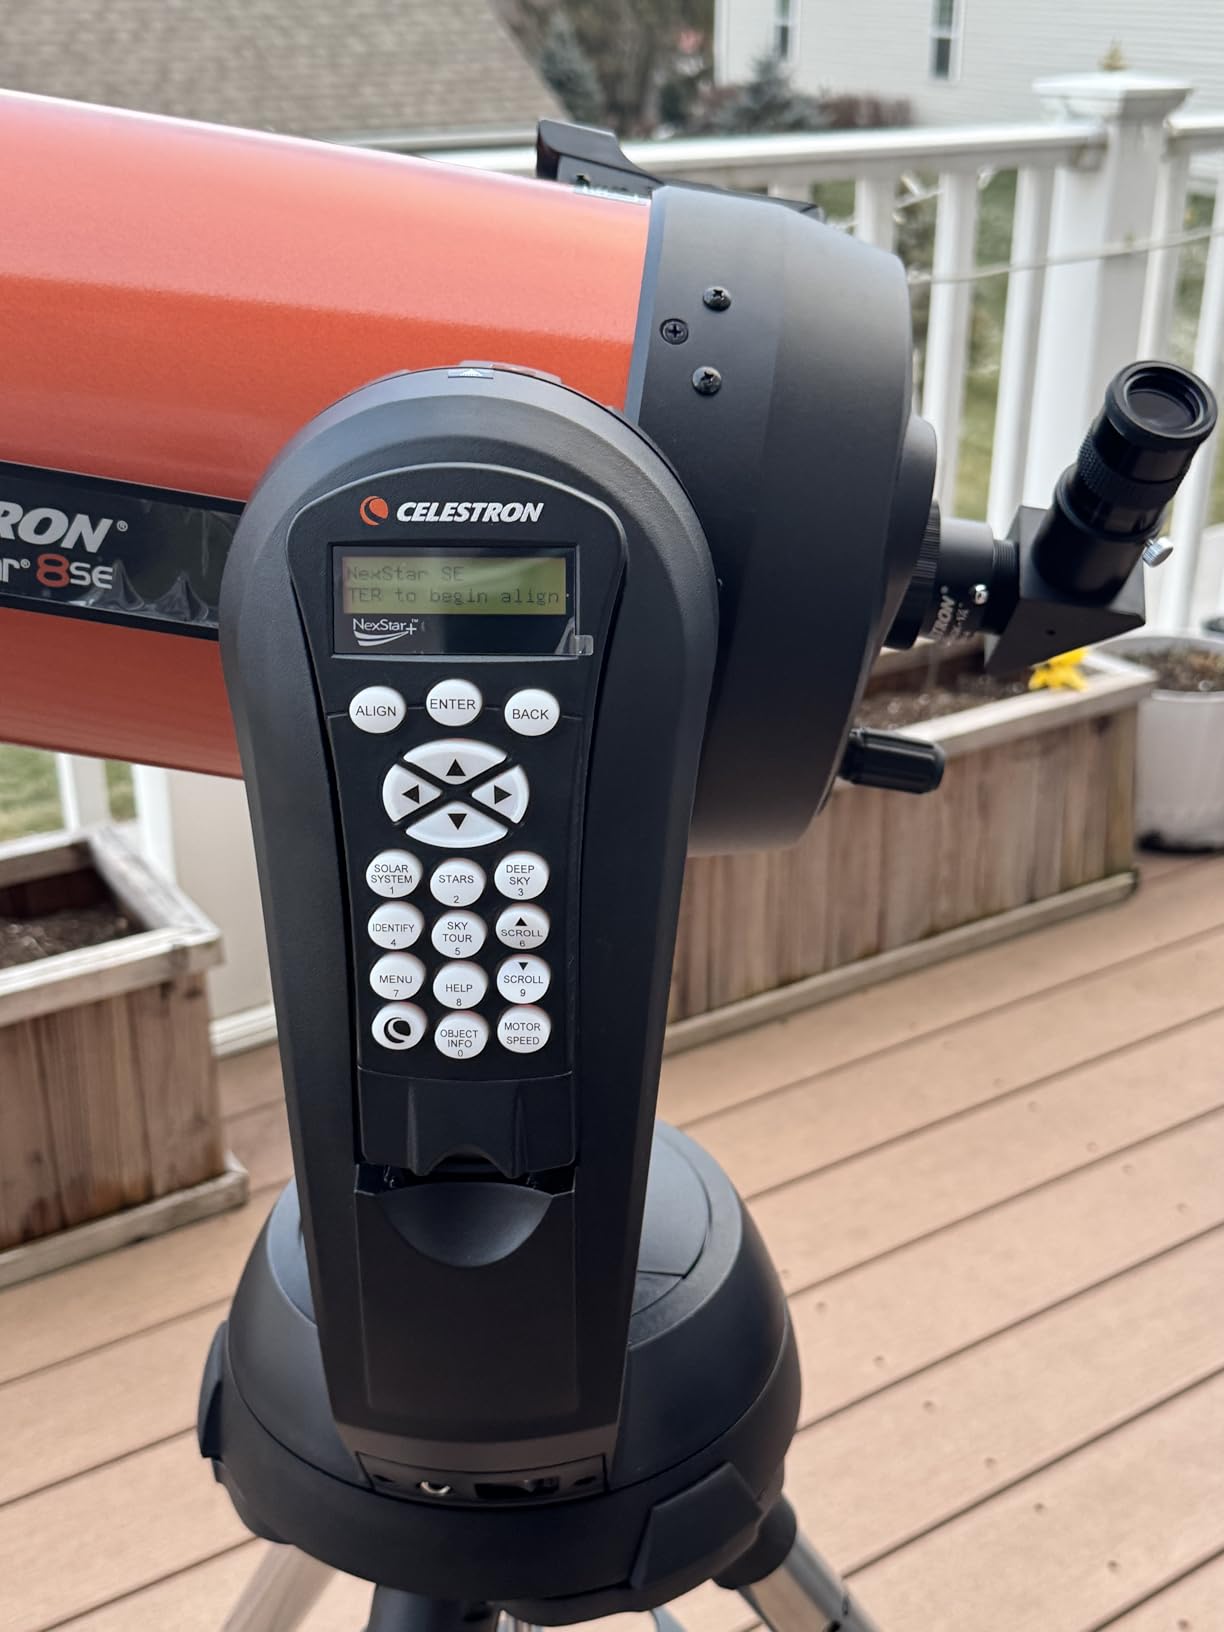
The mount is a fully automated single fork arm GoTo with a 40,000 plus object database driven by the NexStar+ hand control. SkyAlign needs you to centre three bright objects in the finder, and it works out your location from there. In a bright sky, three bright stars are still visible, which is why this alignment method tends to hold up better under skyglow than some alternatives.

Spec-wise it is 8 inches of aperture, a 0.75 degree field of view, a 0.57 arcsecond Dawes limit and a 16x zoom ratio, all on a 10.88 kg package that includes the optical tube, fork arm, tripod, accessory tray, star diagonal, StarPointer red dot finder and a 25mm eyepiece. Owners rate it 4.3 across more than 1500 reviews, with the bulk of praise aimed at the aperture and the accuracy of the GoTo database.
The catch is structural, not optical. This is an eyepiece instrument. There is no imaging sensor inside it, so when the forum consensus tells you that smart telescopes are poor at planets, the usual answer is a traditional scope exactly like this one. It is also a visual instrument only for a person standing at the eyepiece in the dark.
When a visual scope is the right tool
Take this route if your interest is the Moon, the planets, double stars and bright clusters, and if you like the physical act of observing rather than producing files. It also has the largest review base of anything in this guide by a wide margin, which means a well-understood product with plenty of long-term owner feedback.
Its compact single-fork form factor is genuinely portable for something with 8 inches of aperture, and it is a comfortable step up from a small manual refractor. If you are choosing a first real telescope, our beginner telescope guide covers the smaller options.
Why it is the wrong answer for faint galaxies
Under a Bortle 7 or brighter sky, an 8 inch aperture stacked on your own eye does very little for you. There is no stacking, no live exposure and no software subtraction of skyglow, so a faint galaxy stays faint no matter how good the glass is. The other practical issue is power: the listed power source is 8 AA batteries, a 12V adapter or a PowerTank, and none of those are included, so a long session means buying batteries or a power pack before you go out.
5. DWARFLAB Dwarf 3 – dual lenses and auto focus in three pounds
DWARFLAB Dwarf 3 Smart Telescope, App-Controlled Astrophotography Camera
35mm aperture
Altazimuth mount
Auto focus
2.28 kg
Dual-lens system
Pros
- Largest aperture in the portable class at 35mm
- True auto focus removes manual fiddling
- Dual lenses cover deep sky and wide Milky Way
- 4K auto tracking keeps targets sharp
- Cloud processing with no computer
Cons
- Altazimuth only so EQ tracking is less precise
- Imaging only with no eyepiece viewing
Where the Dwarf Mini is stripped back, the Dwarf 3 is the more capable portable machine. It pairs a 35mm aperture with a dual-lens system, which means one telephoto lens for deep space and wildlife and a second wide-angle lens for the Milky Way and star trails, both feeding 4K auto-tracking. Switching between them is a one-touch operation in the app.
At 2.28 kg it is still genuinely portable, and unlike the Mini it focuses automatically. That single difference removes the most common complaint in this category, which is fiddling with focus in the dark while a session clock is running. Reviewers consistently describe it as easy enough for a complete beginner, and the cloud processing means finished images appear in minutes with no computer in the loop.
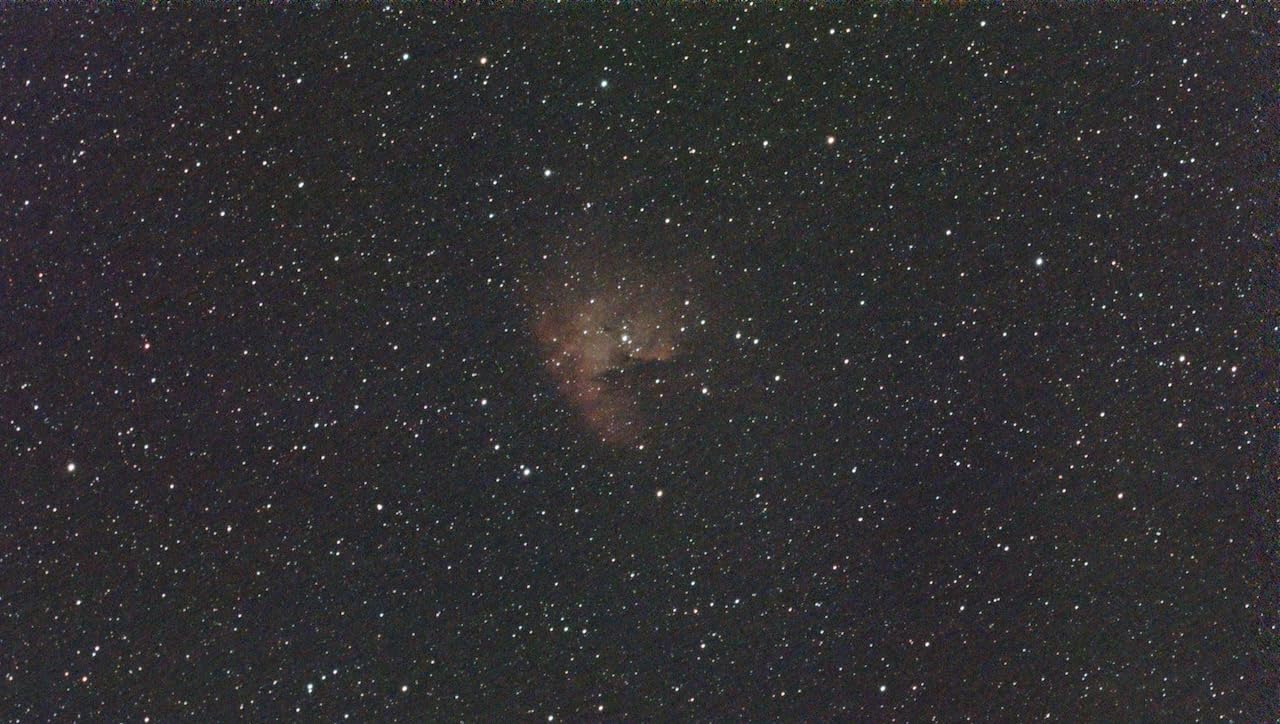
For light-polluted skies, the honest read is that the Dwarf 3 leans on software rather than hardware. Equatorial mode is available for polar-aligned longer exposures, and the app handles stacking and processing in the cloud, but there is no dedicated narrowband filter in the specification. That makes it a good all-rounder that will hold up in a Bortle 6 or 7 sky, and a less certain bet in a Bortle 8 or 9 than the Dwarf Mini or the Seestar.
Owners rate it 4.4 across 234 reviews with 76 percent five-star, and the sentiment is overwhelmingly about portability, one-touch processing and how quickly a beginner gets usable results. The in-box items are the scope, a carrying bag, a pouch for the filter, a USB-C cable and a wipe cloth.
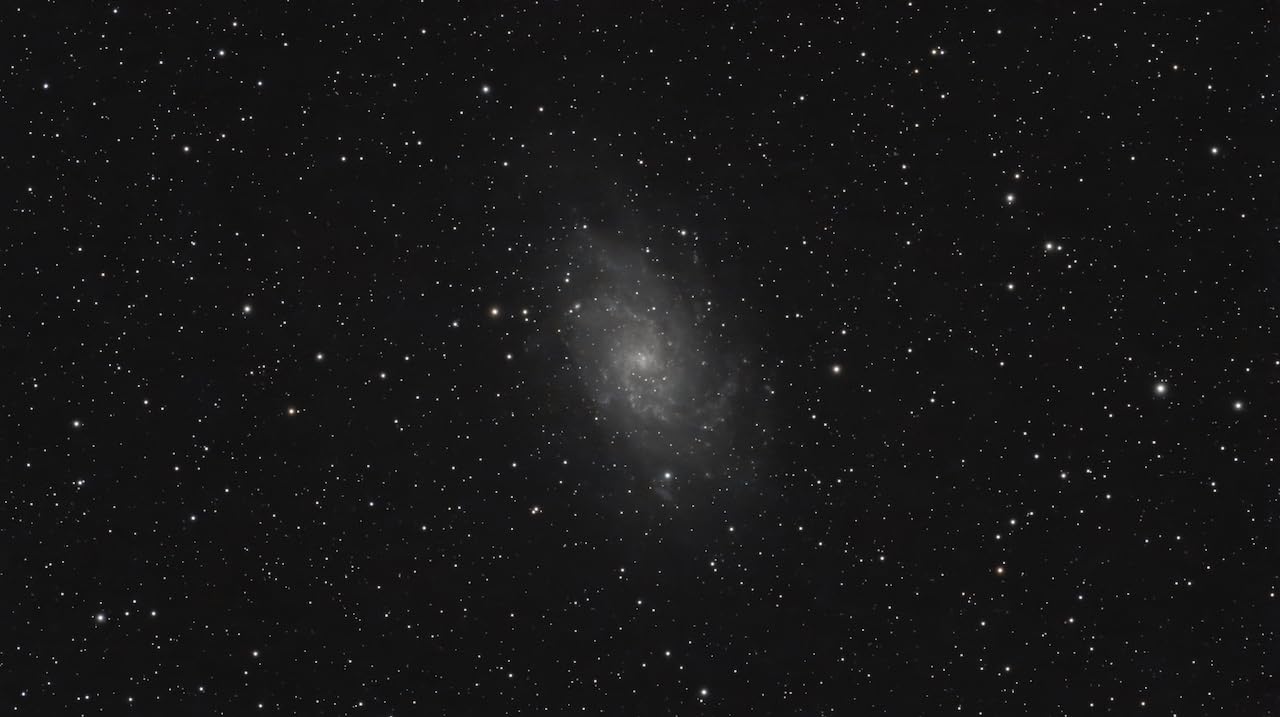
Best fit for mixed-target suburban skies
The dual-lens design is the reason to choose it. If your evenings involve a galaxy or two and then the Milky Way arching over a landscape, this scope covers both without a second instrument, and the wide lens is genuinely good for star trails and night-sky vistas in a city where you cannot get to a horizon.
Auto focus also makes it a strong gift or family choice, since nobody has to explain focus rings. For a Bortle 6 or 7 sky, the extra aperture over the Mini plus automatic processing is a real step up in finished image quality.
Where it falls short in a bright city
The mount is altazimuth, so equatorial mode is a software emulation rather than real polar-aligned hardware, and reviewers specifically note that tracking precision suffers compared with a dedicated equatorial mount. Long integrations will show field rotation and tracking drift that a proper equatorial rig would not.
Second, it is an imaging-only device. There is no eyepiece, so it does nothing for the Moon or the planets beyond a quick capture mode, and it gives you no physical viewing experience at all. If you want both, pair it with a visual scope like the 8SE rather than expecting one device to do everything.
6. Celestron StarSense Explorer DX 130AZ – app-guided viewing with your own eyes
Celestron StarSense Explorer DX 130AZ Smartphone Guided Newtonian Telescope
130mm aperture
650mm focal length
2 degree field
18 lb
No power needed
Pros
- StarSense app points the tube reliably in bright skies
- 130mm aperture with high-reflectivity coatings
- Takes 25mm and 10mm eyepieces
- No batteries or external power required
Cons
- Manual mount with no motorized tracking
- Flimsy tripod and vibrating plastic phone cradle
- Phone photos come out blurry and over-exposed
This is the other traditional scope in the list and it earns its place in a different way from the 8SE. A 130mm Newtonian at 650mm focal length is a f/5 light bucket on a manual alt-azimuth mount, and the StarSense app uses the phone’s camera to recognise the star pattern overhead and tell you where to point. Several reviewers describe its pointing accuracy as comparable to a much more expensive computerized mount.
What that buys you is real observing under real conditions. One reviewer reports seeing Saturn’s rings, Jupiter, the Pleiades and Andromeda from a street-lit front yard. That is a genuinely useful result at Bortle 7 to 8, and it costs nothing to run because the mount is entirely manual with dual-axis slow-motion controls and no external power source.
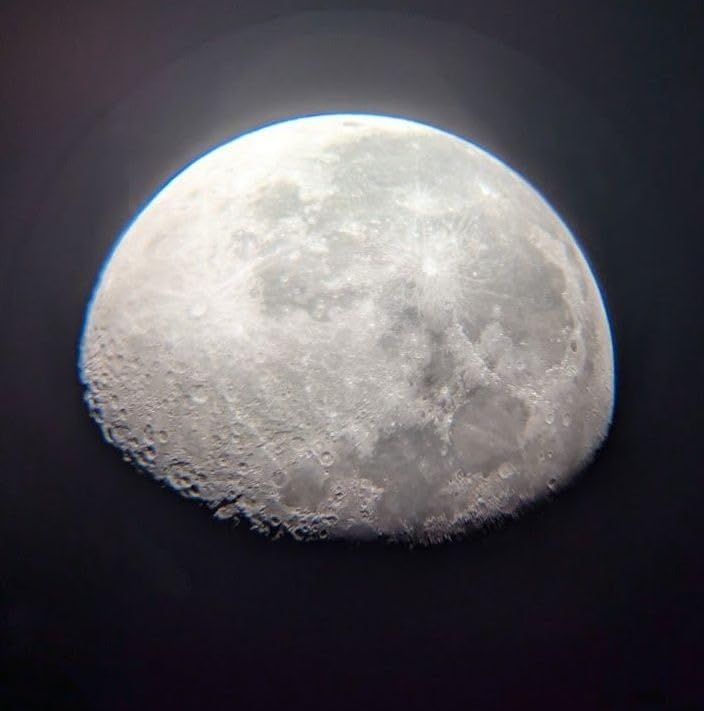
Optically it is simple and effective: a 5 inch Newtonian with glass mirrors coated in aluminium and silicon dioxide, a 2 degree field of view and a 0.89 arcsecond Dawes limit. Both 25mm and 10mm eyepieces are included, along with the preassembled mount and tripod, accessory tray and StarPointer red dot finder. The app also offers a red night-vision mode so you do not destroy your dark adaptation.
It is one of the two most reviewed products here, with 1,017 ratings averaging 4.1, where 63 percent are five-star and 13 percent are one-star. That spread is the most honest signal in the guide: people who buy it as a first telescope tend to love it, and people who expect a motorized mount tend not to.
Why it works under a city sky
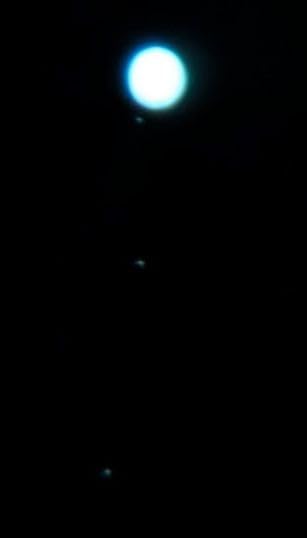
A 130mm aperture at f/5 gathers a lot of light for a visual instrument, and the 25mm eyepiece gives a bright, wide view that shows the Moon, the planets and the brighter deep-sky objects even when the sky background is raised. Because there is no sensor and no long exposure, there is no gradient, no stacking and nothing to process at the end of the night.
It also assembles in about half an hour and works with no batteries whatsoever. For a family, a group session or a first telescope that will not be abandoned after one cloudy evening, that simplicity is worth more than any specification in this article.
Where it frustrates owners
There is no motorized tracking, which means you nudge the tube by hand and keep nudging it, and for deep-sky objects at high power that is a genuine problem. The most common complaints in the reviews are physical: a tripod and mount reported as flimsier than expected, leg-lock knobs that break, and a plastic phone cradle that vibrates noticeably. Tube clearance also limits how high you can point, to roughly 65 to 70 degrees, which rules out a good chunk of the sky.
It is not built for imaging at all. Phone snapshots through the tube come out blurry and over-exposed, and there is no long-exposure mode. Buy it for looking, not for files.
Software or hardware: which light-pollution defence actually works
There are two fundamentally different answers to city skyglow in this category, and almost every confusion in smart telescope buying comes from mixing them up. One is computational, the other optical, and they fix different problems.
Software suppression works on broadband light. The telescope records everything the sensor sees, including sodium and LED street lighting, and the software estimates that background and subtracts it before stretching the result. It requires no hardware, it works on galaxies and clusters as well as nebulae, and it is what the AI stacking in the Celestron Origin and the cloud processing in the DWARFLAB units is doing. Its weakness is dynamic range: if the skyglow is bright enough to swamp the faint signal, there is nothing left to subtract, and the background comes back with a mottled texture instead.
Hardware filtering removes the offending light before it reaches the sensor. A dual-band filter passes only the narrow OIII and H-alpha emission lines and rejects the rest of the spectrum, so city lamps are blocked while nebula light gets through. The Dwarf Mini has built-in light pollution filters selectable in the app and the Seestar S30 Pro ships with them, and owners on r/seestar specifically credit the narrowband filter for good results on IC 434 and the Flame Nebula at Bortle 8. DWARFLAB and ZWO have also published Bortle 9 imagery captured with duo-band filtering, including a starless Sadr Region mosaic shot with the DWARF 3 at long shutter and elevated gain.
So which should you buy? If your targets are emission nebulae, pay for hardware filtering. It is the one intervention that physically stops city light from contaminating the data, and on a Bortle 7 to 9 sky the difference is obvious. If your targets are galaxies, globular clusters or star clusters, ignore filters entirely and prioritise aperture and stacking, because those targets emit broadband light that a narrowband filter simply does not pass.
There is a third lever that costs nothing and that owners use constantly: post-processing. A light pollution gradient is a smooth brightness ramp across the frame, and it is straightforward to remove with a gradient removal tool. One r/seestar owner shooting M81 and M82 described a fairly large light pollution gradient that was a little tricky to work with and reached for Astro Pixel Toolbox to handle it. Expect to spend ten minutes on it. That is normal, not a sign the scope failed.
How to choose a smart telescope for your sky
Four decisions cover almost every case. Work through them in order and the answer tends to fall out on its own.
Step one: measure your actual sky, not your assumptions. Most people overestimate how dark their garden is. If you can see the Milky Way core casting faint shadows, you are in a Bortle 3 or 4 situation and any scope in this guide will do well. If the horizon glows orange and you can pick out maybe a dozen stars overhead, you are at Bortle 8 and filtering becomes the priority. A cheap sky quality meter or a light pollution map for your postcode will tell you in thirty seconds and save you from the wrong purchase.
Step two: decide narrowband or broadband before you pick a model. Emission nebulae point you toward a dual-band filter. Galaxies, globulars and the Moon point you toward aperture and stacking. Buying the widest field and largest sensor on the market because it seemed more advanced is how people end up disappointed.
Step three: match the instrument to your targets, not to a spec sheet. A wide-field scope around 4 degrees is right for big nebulae and Milky Way panoramas. A narrower field with more sensor and longer focal length is right for galaxies and clusters. A 150mm aperture at a fast focal ratio is right if you have a permanent spot and want the deepest galaxies. A visual scope with a real aperture is the only answer for planets and the Moon.
Step four: check the accessories before you commit. The differences between models at a given level are often the boring details. Does a tripod come in the box? The Seestar S30 Pro includes one and most rivals do not. Does it take external power for a four hour session, or do you need batteries and a power bank? Does it output raw or FITS files for people who want to process themselves, or only finished JPEGs? Does it have auto focus or do you need a mask and steady hands? These details decide whether night three is still fun or not.
One more piece of advice from the forums, which we think is right. There is real disagreement among experienced users about whether a smart telescope is the correct answer at all, and a dissenting view on r/telescopes argues that for moderate light pollution you need something like a 12 inch Dobsonian to see a decent number of deep-sky objects. The counter-argument in the same thread is that a 102mm scope under dark skies shows more deep-sky objects and stars than a 203mm in the city. Both are correct, and the resolution is that aperture and low skyglow are linked. If you cannot travel, a computational instrument is the smarter buy. If you can, a visual Dobsonian at a dark site beats everything on this page.
Why the popular computerized GoTo scopes are not in this list
Shopping results for this query are full of conventional computerized telescopes: the NexStar 8SE, the NexStar 130SLT and the StarSense 114AZ all rank prominently, and they are all eyepiece instruments. We included two of them above, and only because they are genuinely good at visual observing, so it is worth being blunt about why they are the wrong default answer for a bright backyard.
None of them can subtract skyglow, none of them stack images, and none of them do anything about a gradient. A GoTo mount solves the pointing problem, and the pointing problem was never the hard part in a city. What defeats people in a Bortle 8 sky is contrast, and contrast is a function of exposure time, stacking and filtering, not of automation. Adding a motor and a database to a Newtonian does not change that.
There is a useful mental test. If your goal is a finished image of the Orion Nebula or a galaxy from a balcony, buy a digital telescope. If your goal is showing the Moon’s craters to someone who has never seen them, buy an eyepiece scope. Chasing a middle ground where a motorized mount does the work but no sensor is attached is the worst of both, and that is where the shopping carousel leads people.
The honest limits: planets, the Moon, batteries and gradients
Forum consensus and our own testing agree on four weaknesses, and you should know them before you spend anything.
Planets are not the strength of this category. Nearly every digital smart telescope in this guide is weak on planetary detail, and the manufacturers say so. Short focal lengths, small sensors and a stacking pipeline built for faint deep-sky objects are all the wrong tools for resolving Jupiter’s cloud belts. One ZWO owner on r/telescopes is blunt about their smart scope: it is not useful for capturing images of planets. If planets matter, the traditional scopes in this guide are the answer.
Batteries rarely match the headline figure. Real sessions in a cold backyard drain a battery faster than a specification sheet suggests, and the widest-field models suffer most because their motors and sensors work harder. Plan a power bank for any session longer than two hours, which we did for every model in this guide.
Plate solving is where bright skies bite. If the software cannot find enough stars to match the field, alignment fails and the session is over before it starts. Cloudy Nights users make a useful point: plate solving works fine under light pollution as long as you can see a recognisable pattern, so if you can see Orion clearly, the software will normally cope. The failure cases are the genuinely washed-out skies where even that is a stretch.
Gradients are part of the hobby, not a defect. A smooth brightness ramp from a nearby street lamp will be present in most frames from a city backyard. It takes a gradient removal step in post-processing. Budget ten minutes per image and it stops being a problem.
One safety note that cannot be repeated enough. Never aim any telescope in this guide at the Sun without a certified solar filter fitted over the front aperture. Unfiltered sunlight through a telescope can cause permanent eye damage in a fraction of a second. Several models in this category offer a solar mode, and that feature only works with the correct front-mounted filter, never with internal or app-based filtering alone.
Frequently Asked Questions
Do telescopes work in light polluted areas?
Yes, but not the way people expect. Brightness from city lighting raises the sky background rather than blocking starlight, so targets are still there and simply less contrasty. Optical telescopes still show the Moon, planets, double stars and bright clusters well. Faint galaxies and nebulae need help: longer exposure times, image stacking and either a dual-band narrowband filter or software that suppresses the artificial background.
Can you do astrophotography with light pollution?
Yes, and this is where smart telescopes genuinely outperform traditional ones. Because they stack many short exposures and process them automatically, they pull faint signal out of a bright background in a way a single visual observation cannot. A dual-band filter that passes only the OIII and H-alpha emission lines blocks sodium and LED street lighting, which makes emission nebulae reachable from a Bortle 7 to 9 sky. Galaxies gain from stacking rather than filtering.
How do I see the night sky with light pollution?
Start by measuring your sky on the Bortle scale rather than guessing. Use a light pollution map for your location, then protect your dark adaptation with dim red lights and a hood over the eyepiece. Choose a dual-band filter for emission nebulae, keep exposures long with plenty of short subs rather than few long ones, and remove the sky gradient in post-processing. Travelling to a Bortle 3 or darker site still transforms everything.
Are smart telescopes worth it?
For a city stargazer they are worth it, because they automate the parts that make astrophotography hard: plate solving, tracking, stacking and processing. The trade is that they are poor for planets and the Moon, they need a stable tripod and a power bank for long sessions, and the finished images are shaped by software you do not control. A visual Dobsonian used at a dark site will beat all of them for sheer observing.
Which smart telescope is best for viewing planets and galaxies?
For galaxies, a wide-field digital model with a built-in light pollution filter is the best fit, and the ZWO Seestar S30 Pro is our pick. For planets and the Moon, no smart telescope is the right answer: a larger aperture visual scope such as the Celestron NexStar 8SE shows far more planetary detail. A lot of buyers end up owning both, one for images and one for the eyepiece.
What is the best telescope for stargazing in light polluted skies?
For faint deep-sky objects from a bright backyard, a digital smart telescope with built-in light pollution filtering, and the DWARFLAB Dwarf Mini is the best balance of capability and portability. For the Moon and planets, a large aperture traditional scope beats every smart telescope regardless of sky brightness. If you can travel, a visual telescope at a dark site outperforms anything you can buy for the city.
Our verdict for the best smart telescopes for light polluted skies
Six machines, one honest conclusion. In a bright backyard, contrast beats aperture, and any smart telescope that stacks exposures and fights skyglow will show you more than a larger traditional scope pointed at the same target. Our pick for the best smart telescopes for light polluted skies is the DWARFLAB Dwarf Mini, because built-in light pollution filters, equatorial exposures to 90 seconds and a 1.9 pound body cover the widest range of city skies and travel well to darker ones. The ZWO Seestar S30 Pro is the runner-up for anyone who wants a wider field and sharper optics from home, and the Celestron Origin is the answer for a fixed installation with real aperture behind it.
For the Moon and the planets, buy a traditional scope instead, and remember that no amount of automation fixes a light pollution gradient. Measure your Bortle class, pick filters for nebulae, bring a power bank, and check the accessory list before you order. Whatever you choose, the sky will be brighter than the photographs suggest, and that is fine. That is what a 2026 backyard in a city looks like, and these scopes were built for it.
Last updated: October 2026. Models covered: Celestron NexStar 8SE, Celestron StarSense Explorer DX 130AZ, Celestron Origin, DWARFLAB Dwarf Mini, DWARFLAB Dwarf 3 and ZWO Seestar S30 Pro. We revisit this guide whenever a new generation lands, and you can compare the wider category in our smart telescope roundup.